


 Copy link
Authenticating with a multi-factor or double-factor in Hestia will add an extra layer of protection to your data.
You will have to authenticate with your username and password and a second added option that you will have previously chosen and configured:
- T-CAT/T-CAT P : with this option you only need to access Hestia using the “Access with Certificate” button.
- With a Verification Code installed on your mobile phone: You must configure the option following the instructions that appear when you click the “Access” option (at no cost; no data is consumed in any case).
- With a Verification Code installed in the PC browser: You must configure the option following the instructions that appear when you click the “Access” option.
The coordinator or support staff can force a reset of the verification code if you ever need to set it up again, you can do this by clicking the “Reset MFA” button found in the “Settings” section of the professional user within Hestia. You will then need to set up the factor of your choice again.
Below we explain how to configure the verification code installed on your mobile phone and PC browser:
1. Access Hestia
2. Enter your username and password, then click “Login”

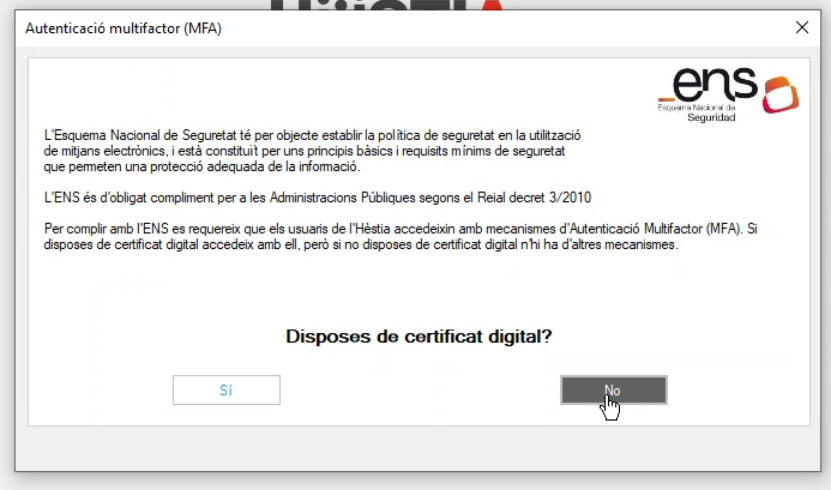
3. It will ask you if you have a digital certificate, you must indicate “No”

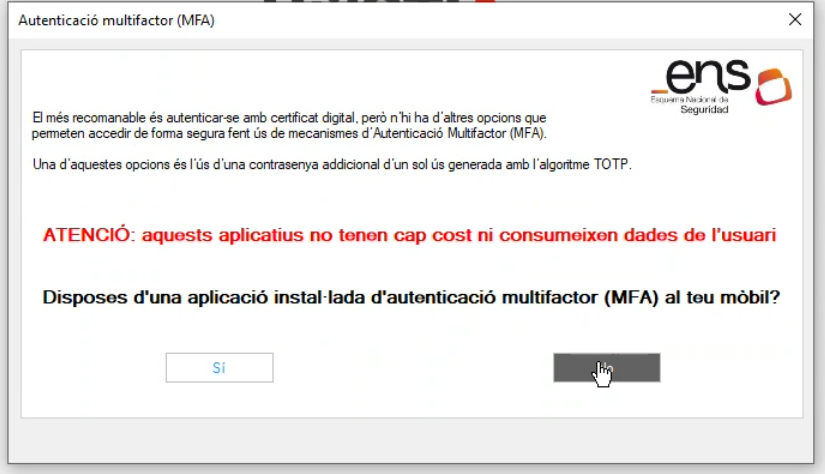
4. It will ask you if you have an application installed on your mobile phone, you must indicate the “No” option again:

5. Next you must choose your operating system to install the application on your mobile phone.

6. Follow the app's instructions to finish setting up multifactor.
From now on, every time you access Hestia, you will have to click on "Access" and enter the code that will appear in the mobile application.
1. Access Hestia
2. Enter your username and password, then click “Login”

3. It will ask you if you have a digital certificate, you must indicate “No”
4. It will ask you if you have an application installed on your mobile phone, you must indicate the “No” option again:
5. Then click “Other options without a phone”

6. Then click “Next”
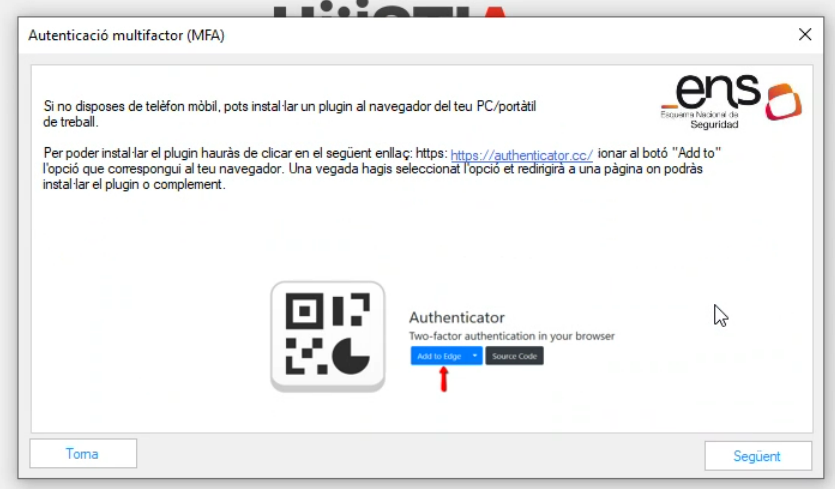
7. You will be prompted to add the plugin to your browser, you must open the URL with the browser you want to use to receive the code, in this case we are using Google Chrome. Click on “Add to Chrome” and “Add to Chrome” on the following screen:


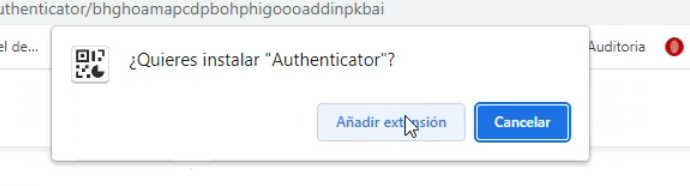
8. It will ask you if you want to install it, you say “Add extension”
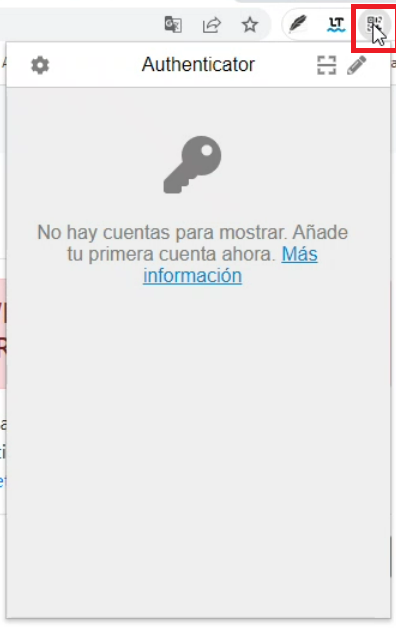
9. In the upper right part of the browser we will click on the drawing marked in red and then we will set the Authenticator:

10. The QR code will appear at the top, click on the pencil icon:
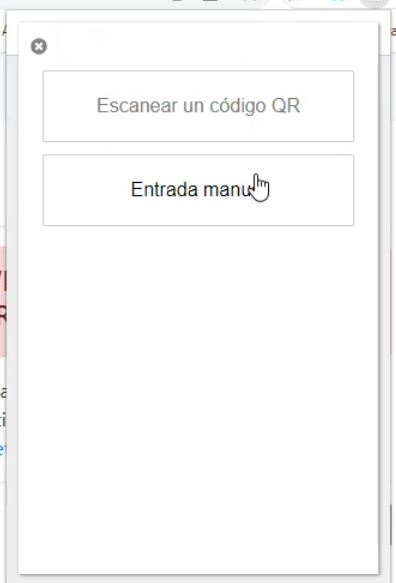
11. Next to the “ + ” symbol

12. “Manual entry” option:
13. In “Issuer” you can indicate your name, for example, and the secret key will be sent to you by e-mail. You will have to copy a very long key of numbers and letters that is under a QR.
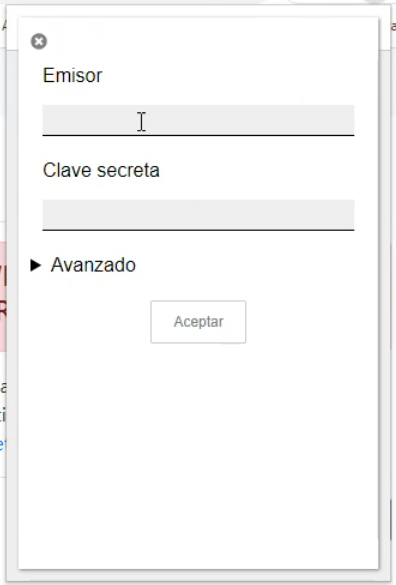
Note: If you have not received the email, you can resend it by clicking “Resend QR” in Hestia.

14. Click "Next" and a window will appear to enter a code:

You have this code in the Google Chrome browser (or in the one where you have installed the plugin), example:
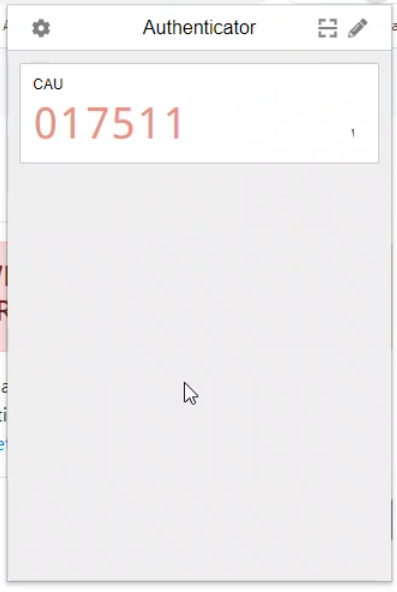
Once you have entered this information, you can access Hestia. From now on, every time you access it, you will have to enter your username and password, then click Access and enter the code that appears in the configured browser.